I did this, so you don’t have to 🙂 I’d read that it wasn’t possible, but had to see what happened out of interest!
I tried to copy the Exchange Administrator role, by taking the existing permissions of that role and squirting them into a POSH script to create a custom role.
The result: many errors like shown stating that the action is not supported on a custom role.
Below is a copy of the script showing all of the permissions that I had to remove (note all the commented permissions lines) before being able to create the role.
On a recent project, I needed a reliable and repeatable method of creating Azure AD service principles for use with Azure DevOps and Azure Sentinel, among other things. I also needed to apply Azure roles to these service principles at different levels of the hierarchy, be that root management group, sub management group or subscription. All examples assume that the az module is already installed.
Create the service principle:
For the SP that I created for the DevOps team, I needed to give it the Owner role at the root level:
Additionally, I discovered that if you delete a SP prior to removing its roles, you end up with orphaned references in the resource level role assignments. Where these were inherited from the root level and I had no GUI visibility of that level, I had to use PowerShell to tidy up. Assuming that you don’t have a record of the ObjectID of the deleted SP, get all role assignments with:
I’ve recently been working on a project implementing O365 unified Labels, in a greenfield scenario where programmatic provisioning of the configuration was required.
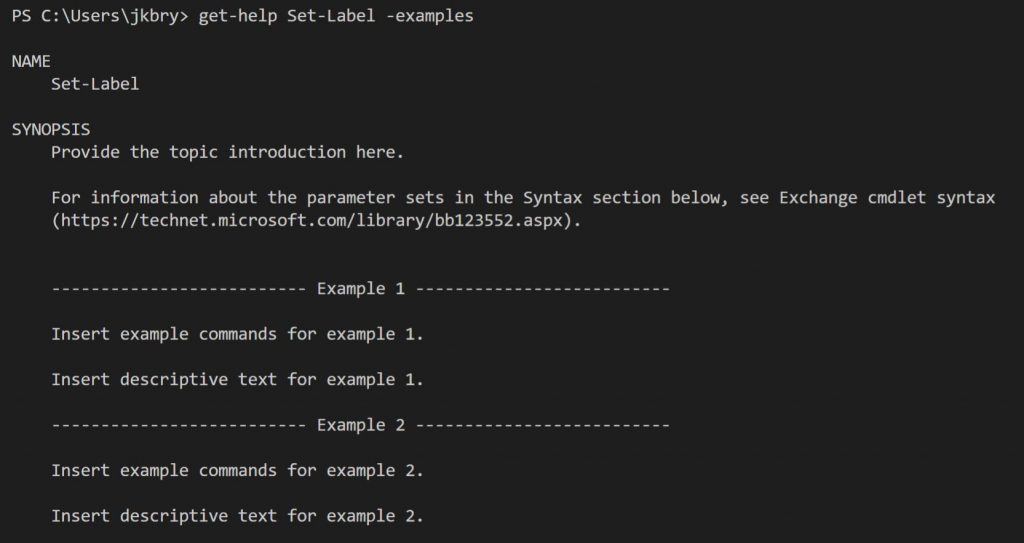
Some of the Microsoft documentation covering how to configure Unified Labels via PowerShell are good, while others are very weak. Take for example the Set-Label cmdlet with the -examples switch:
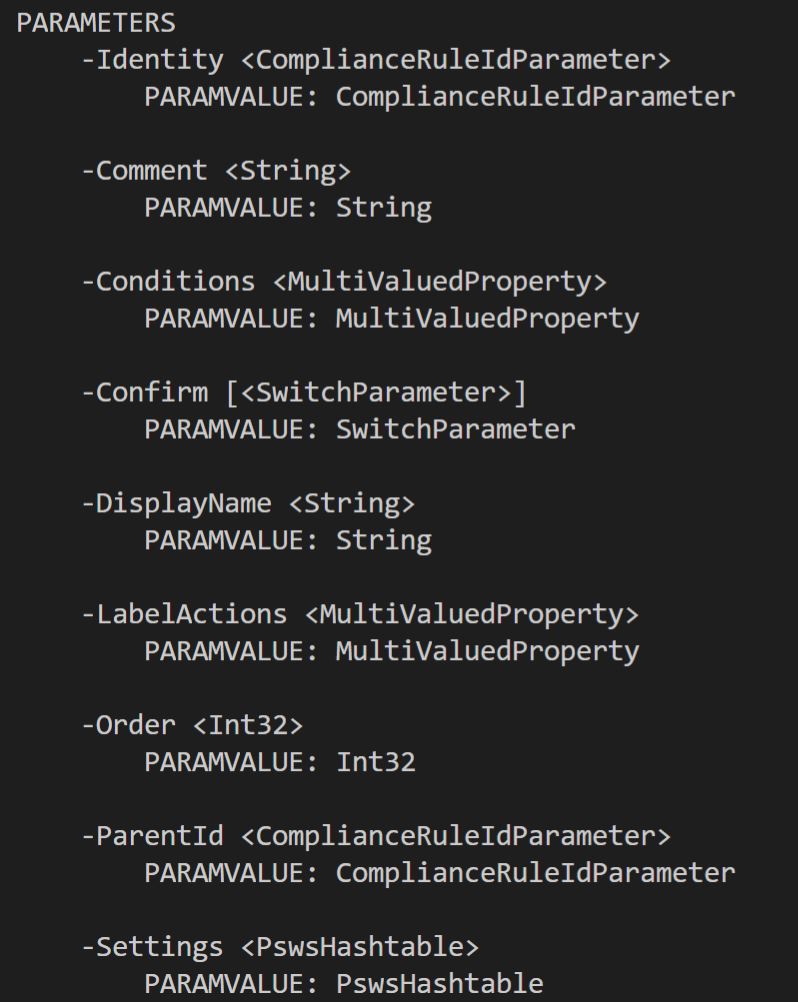
If we look at the parameters from the command “Get-Help Set-Label -Detailed”, we see:
So the parameters that I wanted to set were LabelActions and Conditions. LabelActions configure headers, footers and watermarks, while Conditions define the O365 Sensitivity Types that are applied to a label.
The documentation for how to do this was non-existent, apart from some cryptic “Exchange” docs detailing how to define “MultiValuedProperty”, I was fairly stumped. I ended up up backwards engineering the configuration by setting it in the GUI, then capturing the Label in PowerShell. Once captured, look at the configuration of “Conditions” or LabelActions to see how those Properties are defined in the case of Unified Labelling.
The following script details how this all works together to create something useful. It provisions a new Label named “My Label”, with a green colour. Then it applies a header “HeaderText” and footer “FooterText” and then a watermark “WatermarkText”, all in Black and font size 10. Lastly it applies the O365 sensitivity types “ABA Routing Number” and “Argentina National Identity (DNI) Number” to the label, in Recommended mode.
Also covered for reference is the creation of a sub-label “My Sub Label”, beneath “My Label”.
Once the labels are defined, we need to publish them with a policy. First create the policy, providing the label names and scope, then apply any required advanced settings to the policy.
Note the script below assumes that the last session was ended, we need to login again – else just continue the previous session.
Finally, the documentation states that label priority follows this rule: “A lower integer value indicates a higher priority, the value 0 is the highest priority“. However, in practice the opposite is true.
Say for example you have the following labels “Public”, “Internal” and “Secret”; for the advanced setting “RequireDowngradeJustification” to apply as expected, (following the documentation) you would set “Secret” = 0, “Internal” = 1 and “Public” = 2. This actually has the opposite effect, making a downgrade from Secret to Public not raise the justification dialog box, while Public to Secret is classed as a downgrade; also the order of labels in the toolbar is the wrong way around. So the proper order should be: “Public” = 0, “Internal” = 1 and “Secret” = 2.
Additionally, the priority can get quite messed up if you have any existing labels or if you deploy the labels in the wrong order. Continuing from my example, but also throwing in 2 sub labels per top level label….
First connect (or continue the existing session), then get the current priorities. If they don’t match the output shown in the script, then start fixing them! Start by interactively running the priority settings for the top level labels (only do those that are not correct), starting with the highest values and working down. Check the priorities after each change.
Once the top level labels are correct, start fixing the sub labels (assuming they are not right). Reset them individually, again setting the highest value first, check the priorities after each change. Rinse and repeat until the order is as desired, then go have a G & T 🙂
If you don’t manage security logs by regularly backing them up and clearing them, you risk losing important historical information. Additionally, running a LogParser query against a large, unmanaged security event log takes a long time.
The below script is designed to be run daily at the end of the day to backup the security event log on a Domain Controller and then clear its contents. Additionally, the logs are archived off to two windows shares to allow for long term storage.
Make sure that the security event log maximum size is increased to a high enough level to ensure that none of the days logs get overwritten. Judging that size will depend on the number of events per day or alternatively just set to “do not overwrite events”.
The following script can be used to enumerate role assignments for a subscription and role assignments for Resource Groups within that subscription.
Use as-is to just grab everything – note 2 subscriptions are used in the example – fix the subscription GUID’s on lines 6 & 7.
Optionally un-comment the references to -SignInName “Jon@oholics.onmicrosoft.com” to obtain a report showing only those resources that refer to the named user.
The resulting report can be opened in Excel, to product a nice table 😉
Just digging something up that I used to use regularly to look for logon events related to a certain username (samAccountName). Thought I’d regurgitate them here for “the next time..”
Three different SQL queries for three different use cases:
Case 1. I know that the logon event that I’m looking for occurred on DC01.oholics.net, I’m therefore going to interrogate the live DC log. The primary username I’m looking for is “jon”, a secondary name shown as “dave”. This could be replaced by a junk string if I’m only really looking for “jon”, or just trim the query (up to you.. ).
Case 2. In my domain, there are three domain controllers, I’m not sure where the logon events happened, so as in Case 1 I search the live DC logs, but this time searching all DC’s logs.
Case 3. I have three months of backed up logs to search through (in C:\TEMP\Logs) for all logon events for samAccount name “jon” (and optionally “dave”, as above). I may splurge out the script that I used to use to backup and clear the event logs next, that could be useful again – I’ve got to clean it first.
Consider the scenario: opening a ticket within Azure for an issue with an infrastructure component or security event. IP addresses, domain names and Machine names are classed as sensitive and should not be revealed to MS support staff.
You have a folder filled with event logs from the problem machine(s). You need to redact the above mentioned properties.
By using LogParser with the following sql statement, a CSV file is exported which strips out the sensitive properties, replacing parts of the properties with X’s.
‘OHOLICS‘ is replaced by ‘XXXXXXX‘ where it is found in an event log, in the Strings, ComputerName, Message or Data fields
The first two octets of an IP address are stripped, where these are ‘192.168.’ in the Strings, Message or Data fields
‘blog.oholics.net‘ is replaced by ‘blog.XXXXXXX.net‘ where it is found in an event log, in the Strings, ComputerName, Message or Data fields
Note that after the output file is created, the header row will need to be updated to remove the replace statements. Where normally just the item name would be added as a header, the full replace query is added as the header for those items.
Recently I have been looking into using Azure Service Principle objects to bypass MFA and to allow scripts, that need to connect to Azure or other services, to do so without input. Thus, I can then schedule scripted tasks to generate reports on Azure AD objects or AzureRM items.
Next, once we have the PFX certificate file, we can create the Azure App Registration, using PowerShell:
Then (optionally), if the script that you want to automate will be reading AzureRM objects, run the following script. Note that if the role assignment is to be constrained to a specific resource group, add the -ResourceGroupName switch to New-AzureRMRoleAssignment
Additionally, the RoleDefinitionName can be altered to suit.
Now we have the Service Principle in place, we can connect! But in the case of the Azure AD connection, Ineed to first allow the application to Read AAD:
Go to the App Registrations blade in Azure AD, pick the application created earlier, then select settings. Select Required Permissions, add Azure AD and add the permissions shown in the following image:
Now lets connect using the certificate thumbprint:
By installing the certificate in the CurrentUser store, only that user can consume the certificate thumbprint for authentication using this method. Lovely.. 🙂
Why is this method secure?
You can only access the application to sign in if you have installed the certificate on the machine that you want to run the script from.
To install the certificate, you must know the password that was set on the private key during PFX creation.
No AAD user object is created
No plain text passwords need to be stored
To sign in using this method, you must know:
The AAD Tenant GUID
The Application GUID of the configured application
The specific thumbprint of the certificate, used to make the connection
The certificate and private key must be installed on the machine on which the connection attempt is being made.
 Below is a copy of the script showing all of the permissions that I had to remove (note all the commented permissions lines) before being able to create the role.