Scripted Provisioning of Office 365 Unified Labels
I’ve recently been working on a project implementing O365 unified Labels, in a greenfield scenario where programmatic provisioning of the configuration was required.
Some of the Microsoft documentation covering how to configure Unified Labels via PowerShell are good, while others are very weak. Take for example the Set-Label cmdlet with the -examples switch:
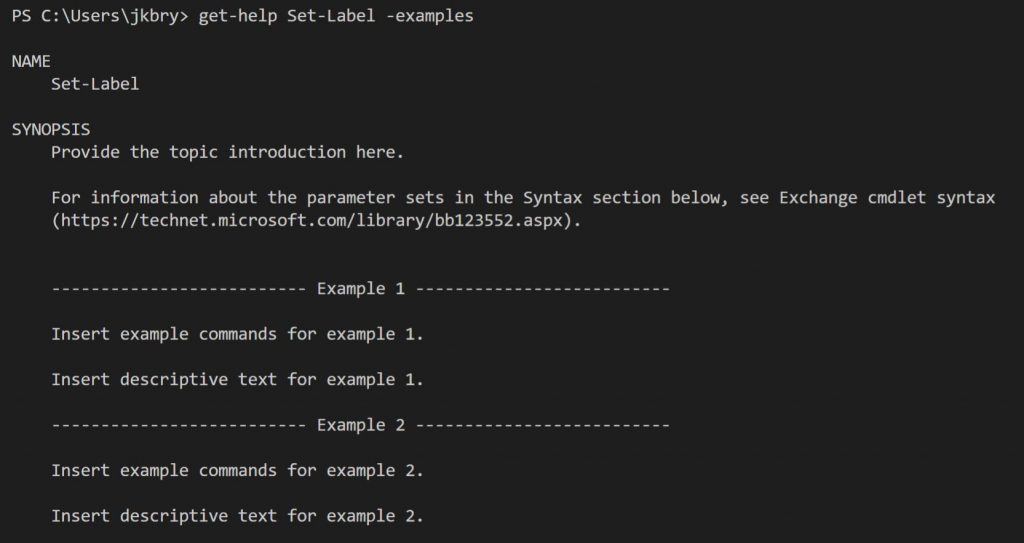
OK, that isn’t very helpful 🙂
Additionally, the online docs (e.g. https://docs.microsoft.com/en-us/powershell/module/exchange/policy-and-compliance/set-label?view=exchange-ps) fail to reference some of the cmdlet parameters .
If we look at the parameters from the command “Get-Help Set-Label -Detailed”, we see:
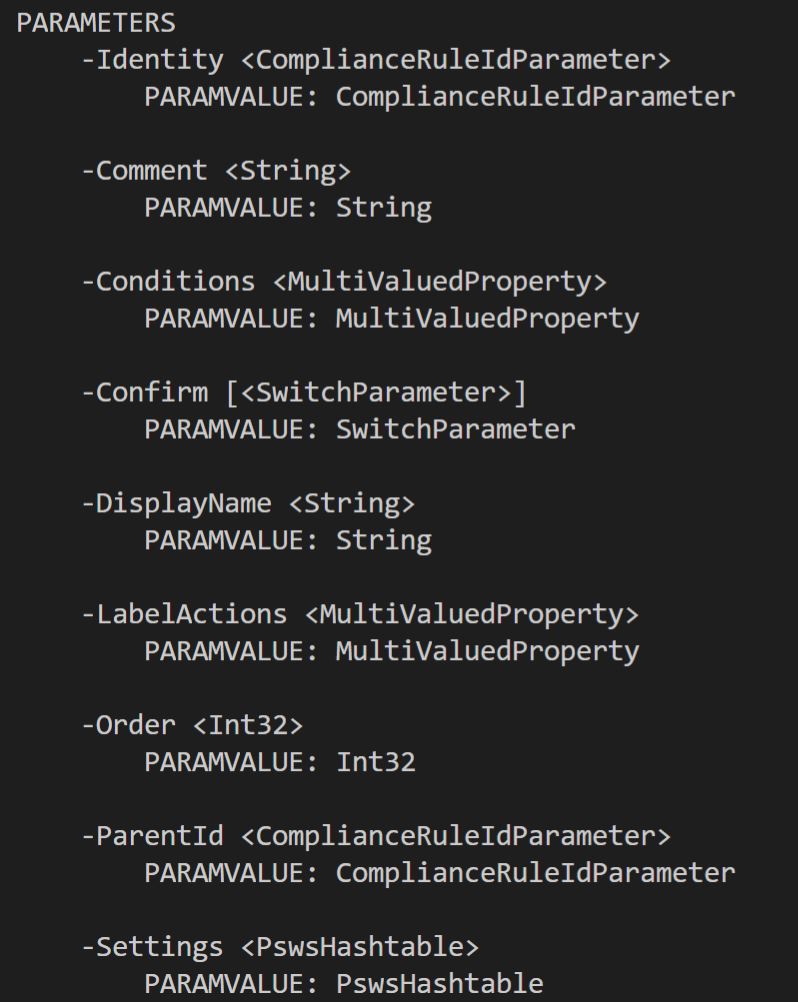
So the parameters that I wanted to set were LabelActions and Conditions. LabelActions configure headers, footers and watermarks, while Conditions define the O365 Sensitivity Types that are applied to a label.
The documentation for how to do this was non-existent, apart from some cryptic “Exchange” docs detailing how to define “MultiValuedProperty”, I was fairly stumped. I ended up up backwards engineering the configuration by setting it in the GUI, then capturing the Label in PowerShell. Once captured, look at the configuration of “Conditions” or LabelActions to see how those Properties are defined in the case of Unified Labelling.
The following script details how this all works together to create something useful. It provisions a new Label named “My Label”, with a green colour. Then it applies a header “HeaderText” and footer “FooterText” and then a watermark “WatermarkText”, all in Black and font size 10. Lastly it applies the O365 sensitivity types “ABA Routing Number” and “Argentina National Identity (DNI) Number” to the label, in Recommended mode.
Also covered for reference is the creation of a sub-label “My Sub Label”, beneath “My Label”.
Once the labels are defined, we need to publish them with a policy. First create the policy, providing the label names and scope, then apply any required advanced settings to the policy.
Note the script below assumes that the last session was ended, we need to login again – else just continue the previous session.
Finally, the documentation states that label priority follows this rule: “A lower integer value indicates a higher priority, the value 0 is the highest priority“. However, in practice the opposite is true.
Say for example you have the following labels “Public”, “Internal” and “Secret”; for the advanced setting “RequireDowngradeJustification” to apply as expected, (following the documentation) you would set “Secret” = 0, “Internal” = 1 and “Public” = 2. This actually has the opposite effect, making a downgrade from Secret to Public not raise the justification dialog box, while Public to Secret is classed as a downgrade; also the order of labels in the toolbar is the wrong way around. So the proper order should be: “Public” = 0, “Internal” = 1 and “Secret” = 2.
Additionally, the priority can get quite messed up if you have any existing labels or if you deploy the labels in the wrong order. Continuing from my example, but also throwing in 2 sub labels per top level label….
First connect (or continue the existing session), then get the current priorities. If they don’t match the output shown in the script, then start fixing them! Start by interactively running the priority settings for the top level labels (only do those that are not correct), starting with the highest values and working down. Check the priorities after each change.
Once the top level labels are correct, start fixing the sub labels (assuming they are not right). Reset them individually, again setting the highest value first, check the priorities after each change. Rinse and repeat until the order is as desired, then go have a G & T 🙂
19th May 2020 @ 11:19 am
Thank you very much!
12th June 2020 @ 1:59 am
Thanks Jon,
I’m looking at combining this with some other elements in http://microsoft365dsc.com/
Regards,
Dave C
19th August 2020 @ 10:37 pm
Hi Dave,
Microsoft365DSC looks to be pretty useful, especially where you have a dev and prod environment to build/ configure/ support.
Many thanks,
Jon
2nd July 2020 @ 7:36 pm
Great and very helpful!
23rd October 2020 @ 9:01 pm
Hey man,
Great article. However, i am not able to view the AdvancedSettings. I realize that i can set them but i would like to view them before making any changes. How might i do about doing that?
Thanks,
27th October 2020 @ 11:41 pm
Hi Robert,
I don’t have access to that environment anymore, but I’m pretty sure that running Get-LabelPolicy -Identity “My Label Policy” will let you view the advanced settings that have been defined for the label.
Hope this helps 🙂
Jon
11th August 2021 @ 1:01 pm
I have been search for this – as when you have to create multiple labels (like 30-40) manually is a pain!!!
30th September 2021 @ 10:16 pm
Hi Paul,
To be fair, I have never seen a use case for that number of labels. Unless of course you are scoping collections to groups of users.
Regards,
Jon